


The climbing arch: The right balance is key!
Climbing arch or seesaw? It comes in a climbing frame, seesaw, tunnel, swing, doll's cradle , and much more – my absolute favorite for every child's room! A multifunctional wooden toy that combines fun with a great learning effect: the climbing arch!
My all-rounder: the climbing arch
Today I'll show you lots of great ideas for how your child can creatively use the climbing arch in a variety of ways! A great DIY project with salt dough awaits you in our creative workshop – not only perfect for the upcoming Easter season, but also perfect for developing your child's fine motor skills and senses!

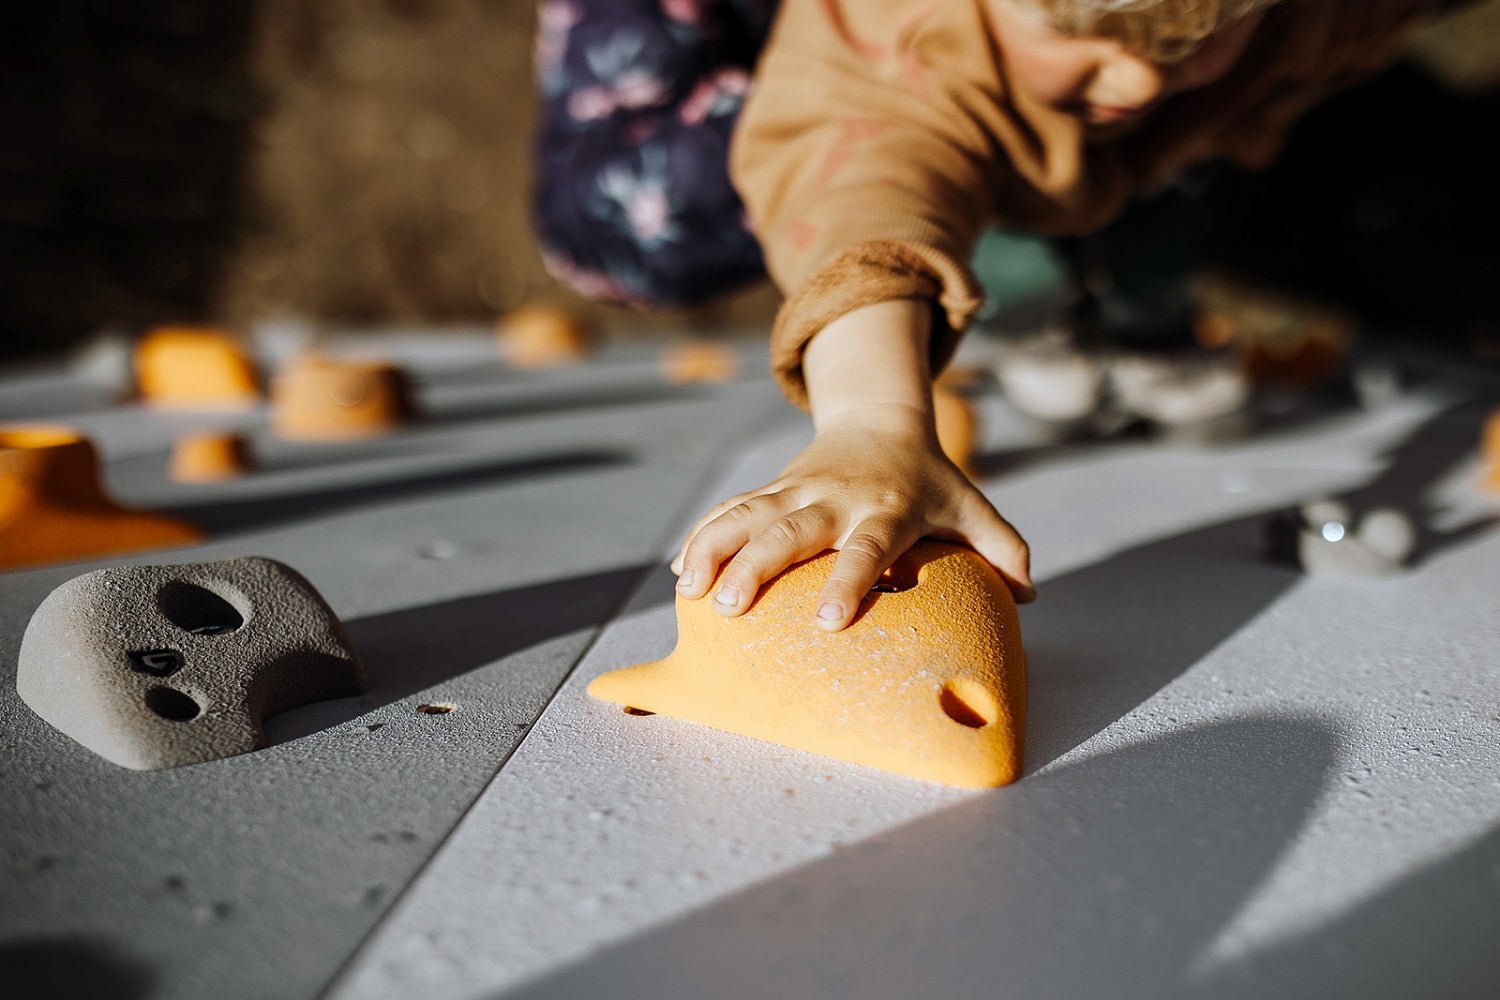
Balance, a part of gross motor skills…
Your child must first learn to use their seven senses safely. They process external stimuli and influences differently than adults. This becomes apparent in everyday life and in dangerous situations.
Practice makes perfect
Many of us parents know the feeling when watching our child climb: torn between "Just let it go, it'll be fine" and "Stop, this is getting too dangerous!" Simply letting your child do it isn't easy; after all, you want to protect them. But too much protection can rob your child of the opportunity to develop confidence in their physical abilities.
“Help me to do it myself.” – Maria Montessori

Interaction of the senses
The sense of movement and balance, which are closely linked, play a central role in testing one's own physical limits. The sense of movement is also referred to as deep sensitivity – the ability to perceive one's own body. Without the sense of balance, however, the sense of movement would be of little use. The vestibular organ in the inner ear helps your child maintain their posture and orient themselves in space.
In order to be able to orient oneself safely in space, the information that the senses and the vestibular system transmit to the brain must be consistent.
Body control brings safety
When your child can walk, hop, and run, they have well-trained their deep sensitivity and sense of balance. These movements form the basis for more challenging activities such as climbing, rocking on the climbing arch , sliding, and balancing . Often, simply providing your child with the necessary space is enough – their natural urge to move will do the rest.
“It is not the child who should adapt to the environment, but we who should adapt the environment to the child.” – Maria Montessori
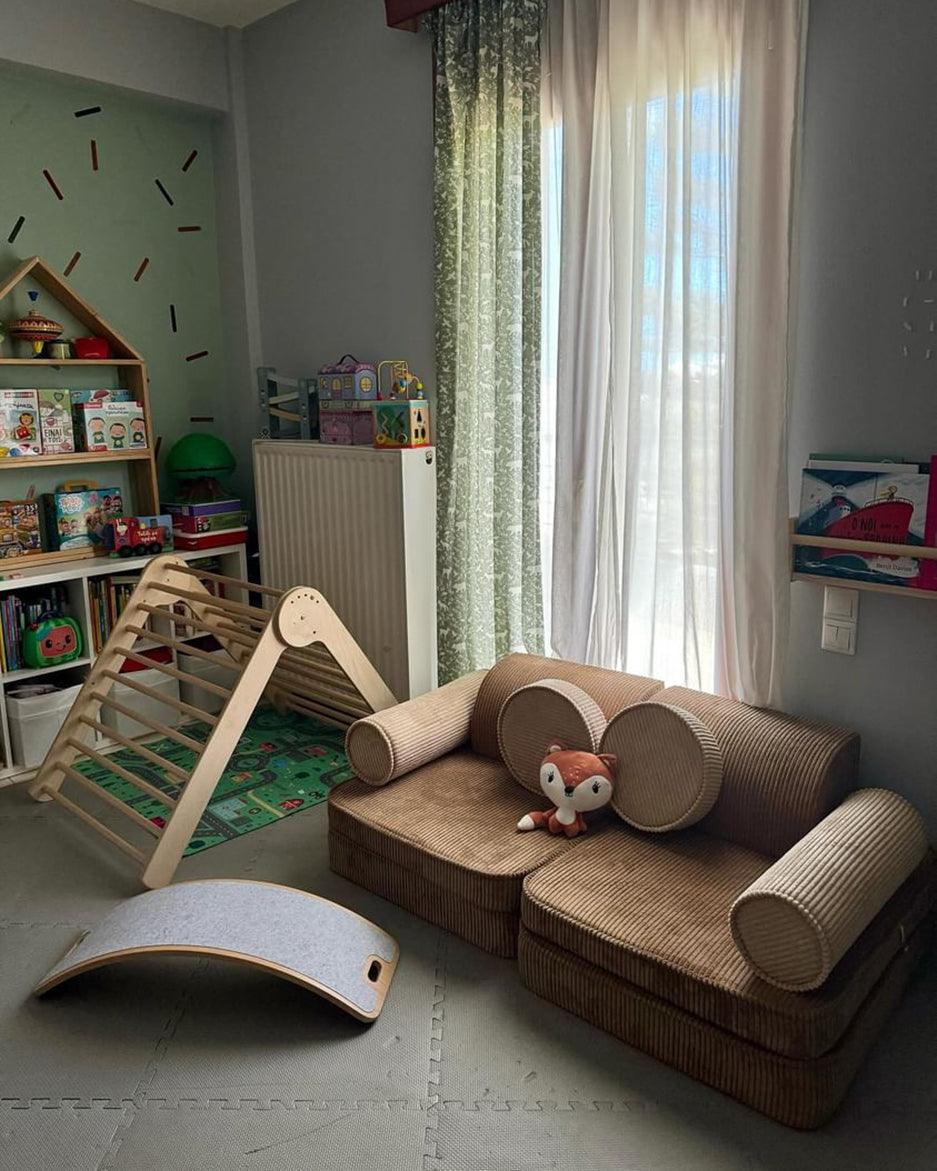
My all-rounder: the climbing arch
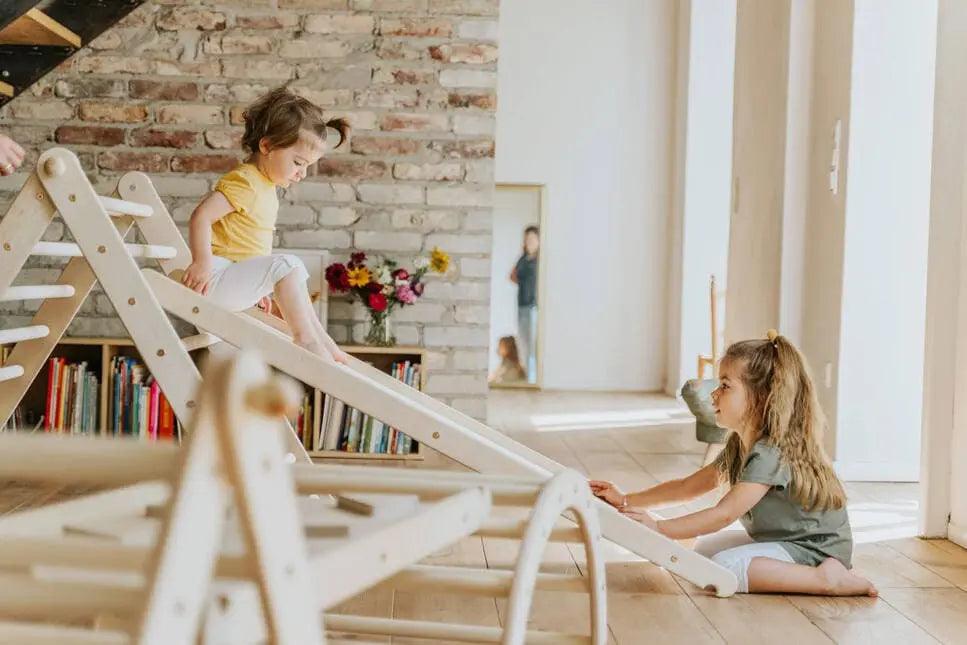
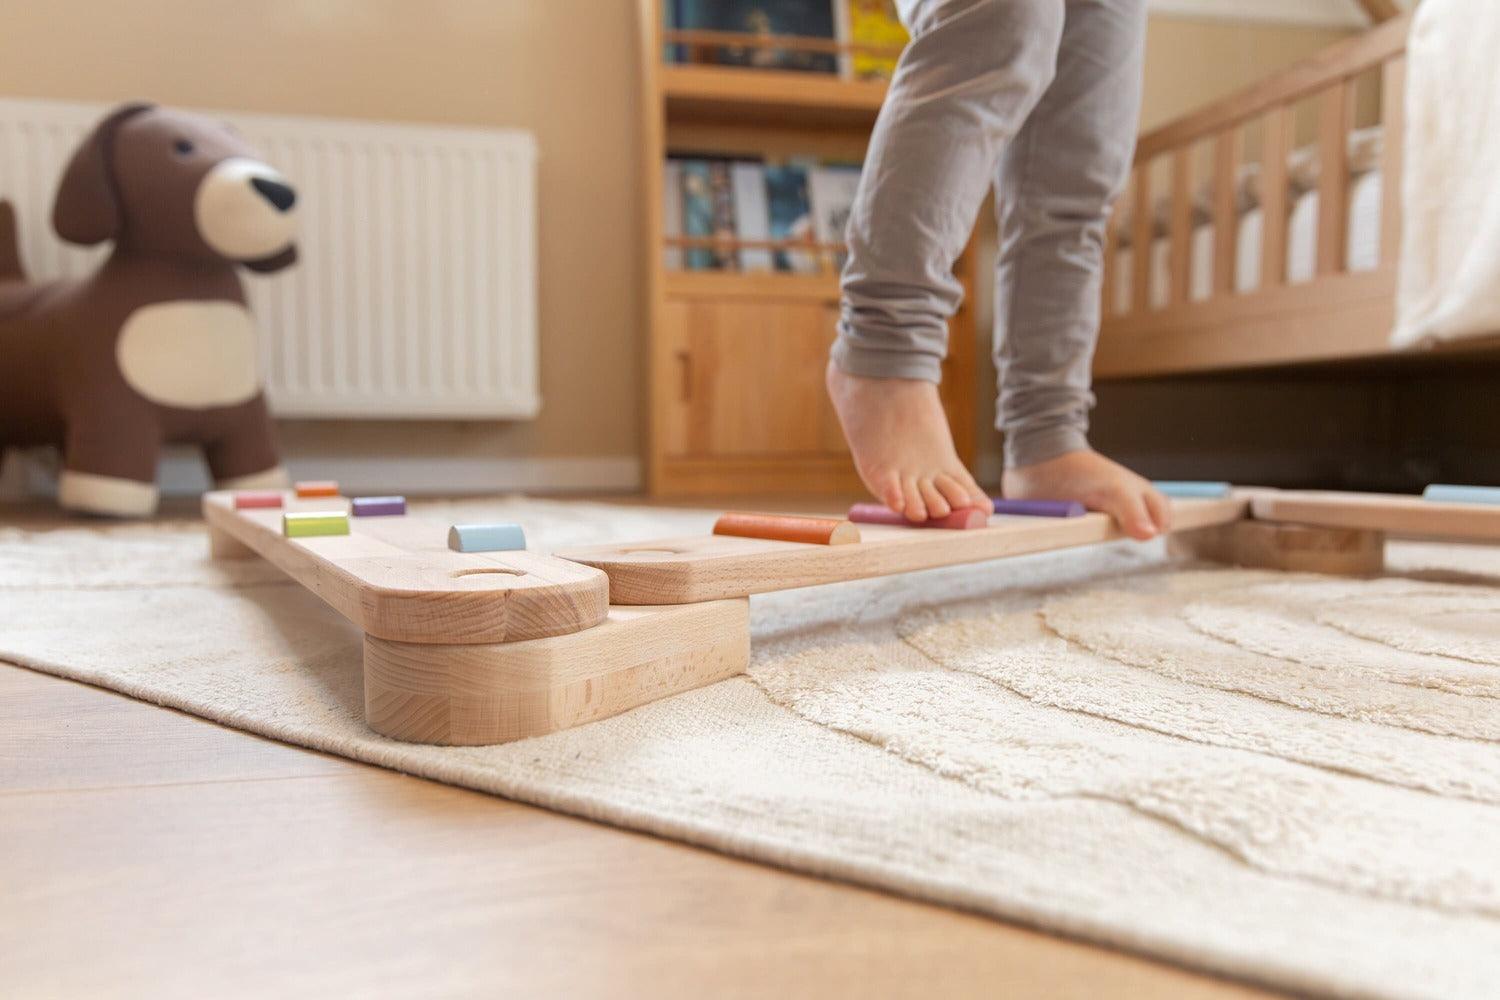
Whether as a climbing arch or a seesaw , your little adventurer can play with it in a variety of ways. This means the climbing arch will remain a faithful companion for years to come!
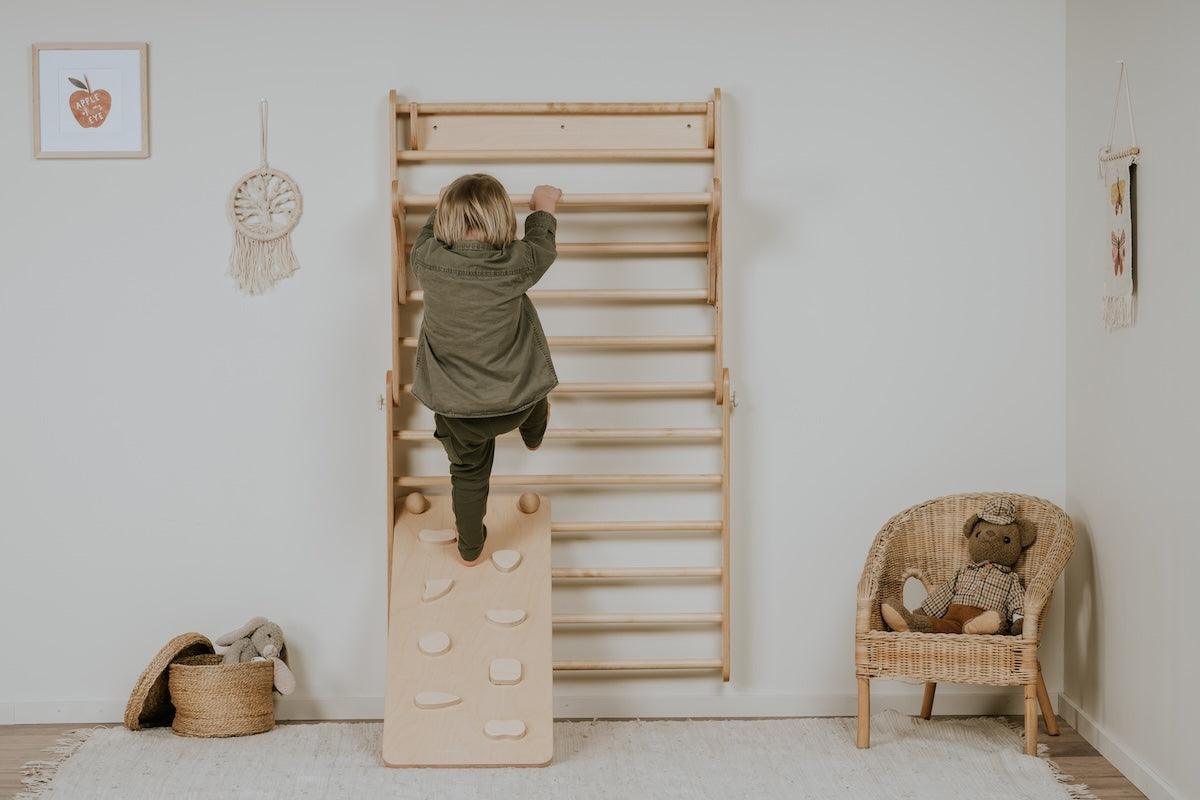
Advantages of a climbing arch
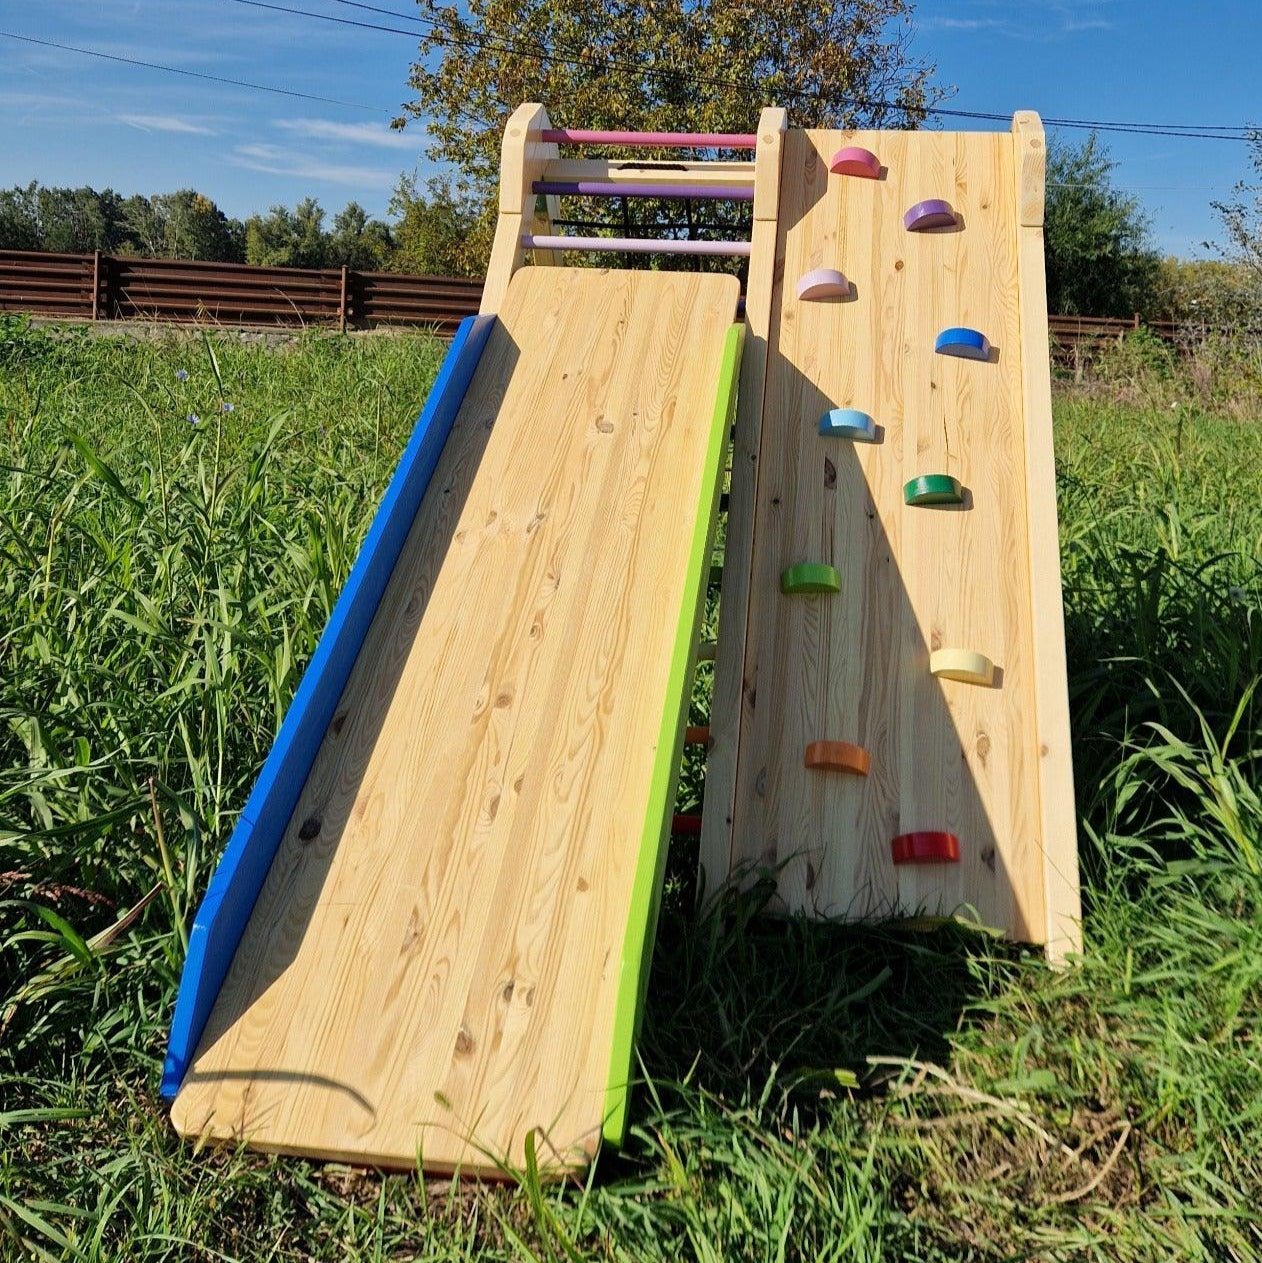
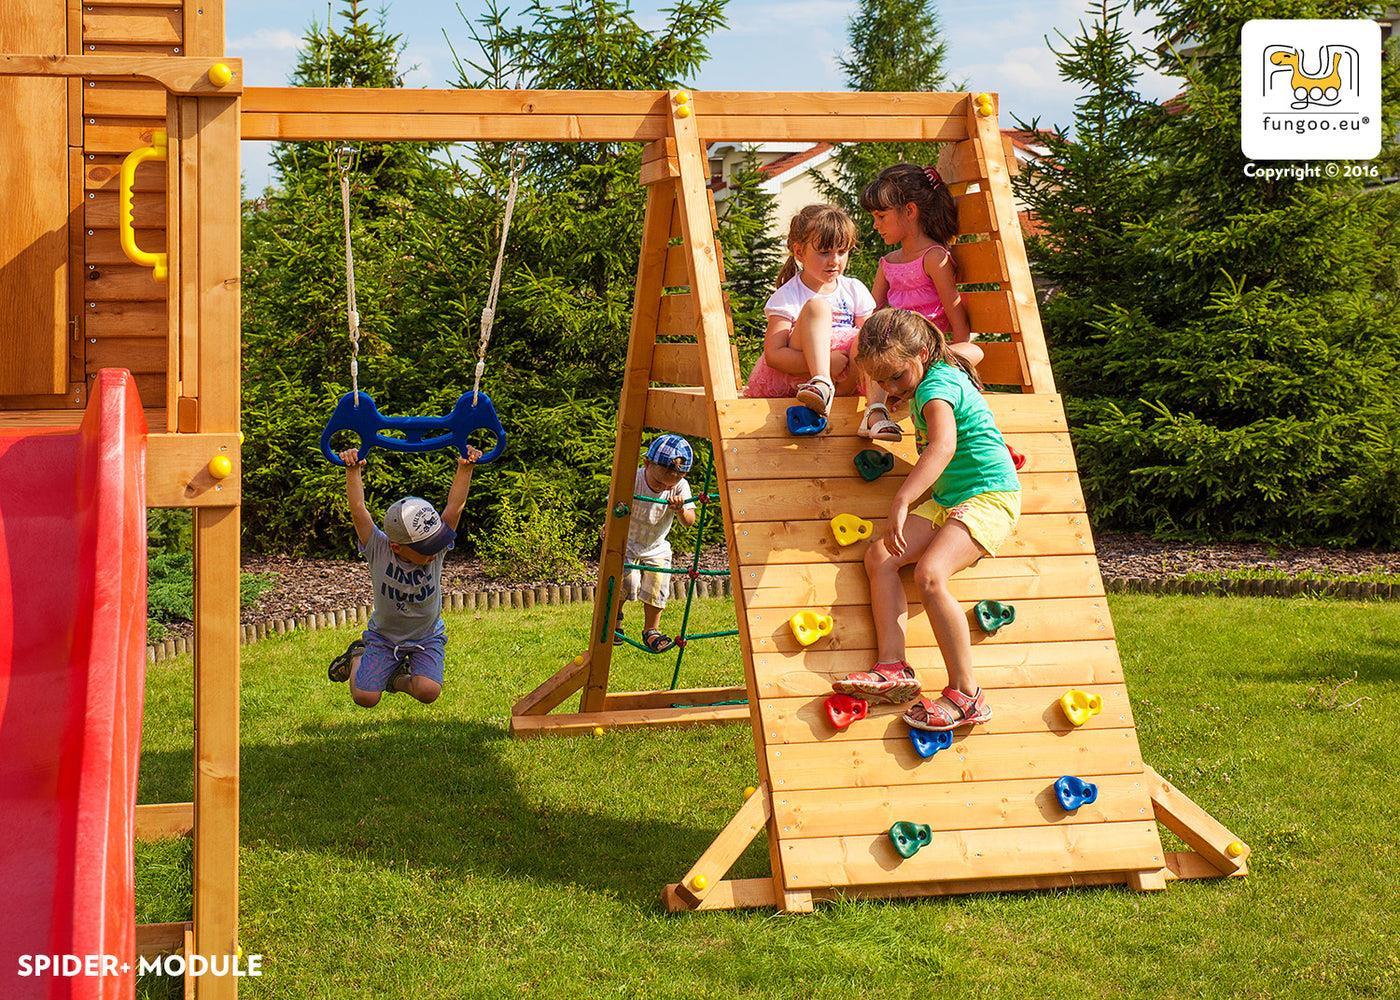
With the climbing arch, children of all ages can safely practice climbing in their own room. Regular use will promote your child's movement confidence and coordination. Unlike climbing triangles, your child can also cross the arch while lying on their stomach and change direction at any time.
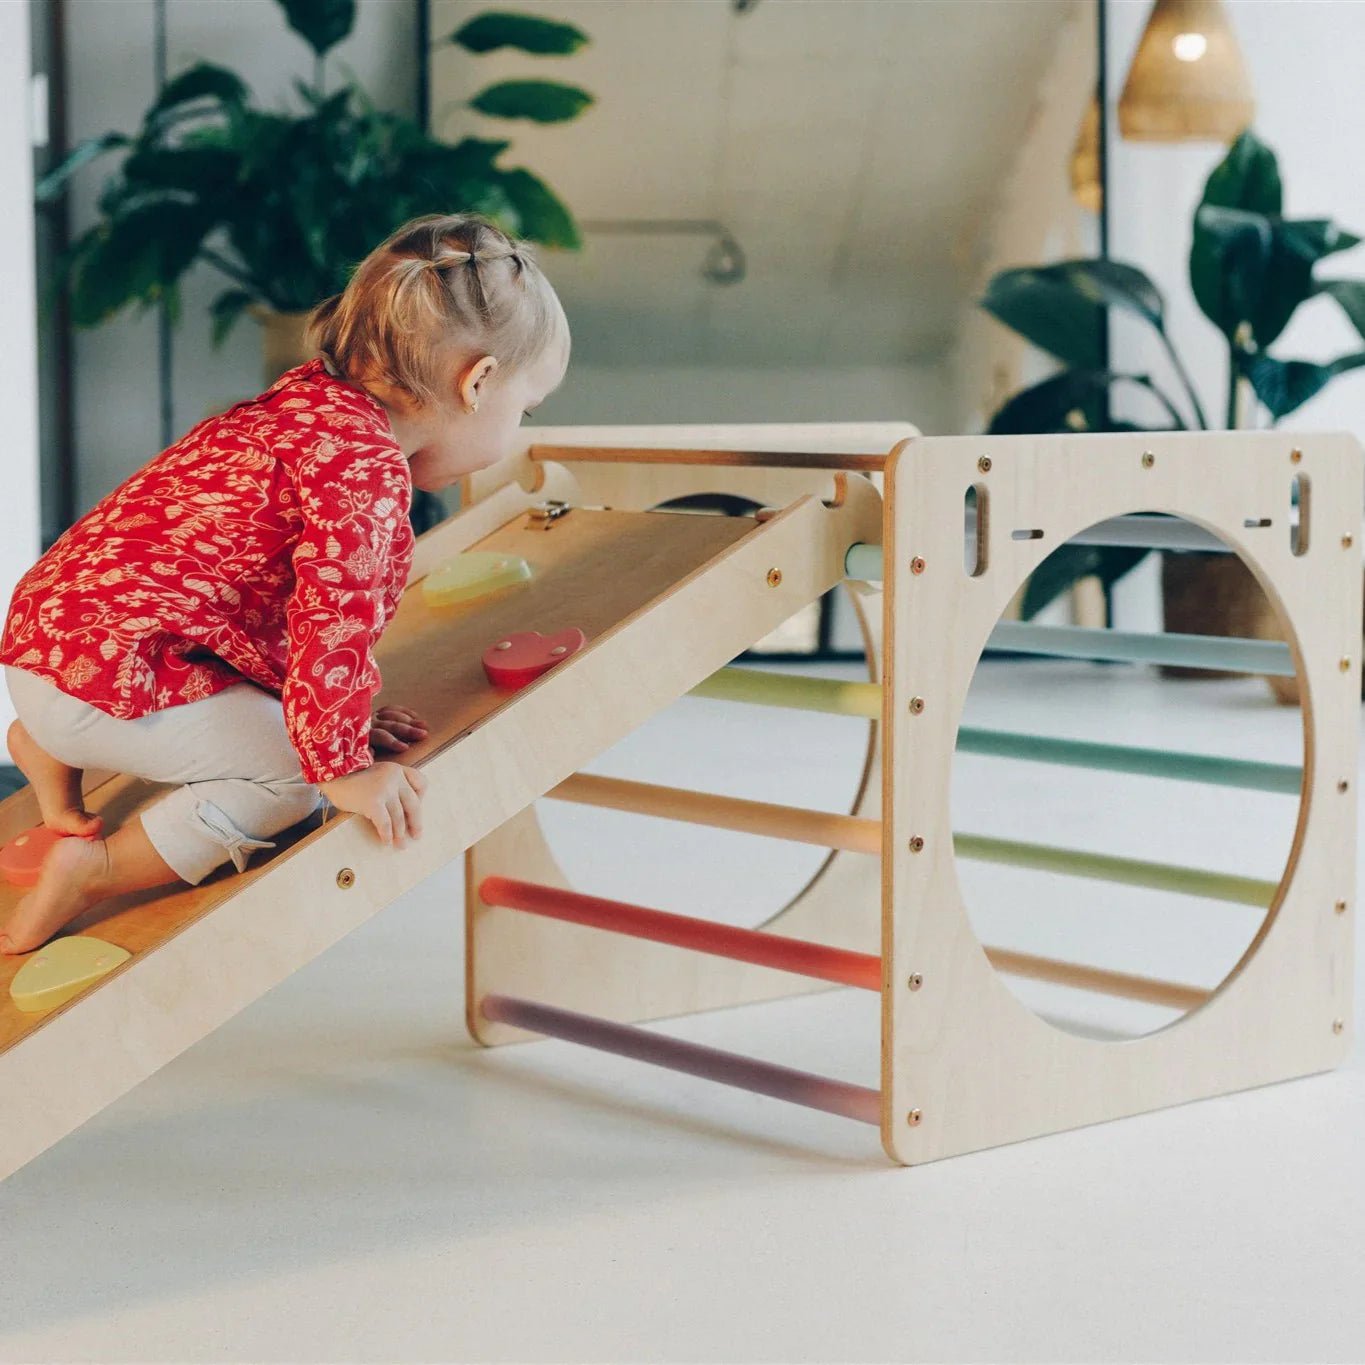
Fun and adventure for all children
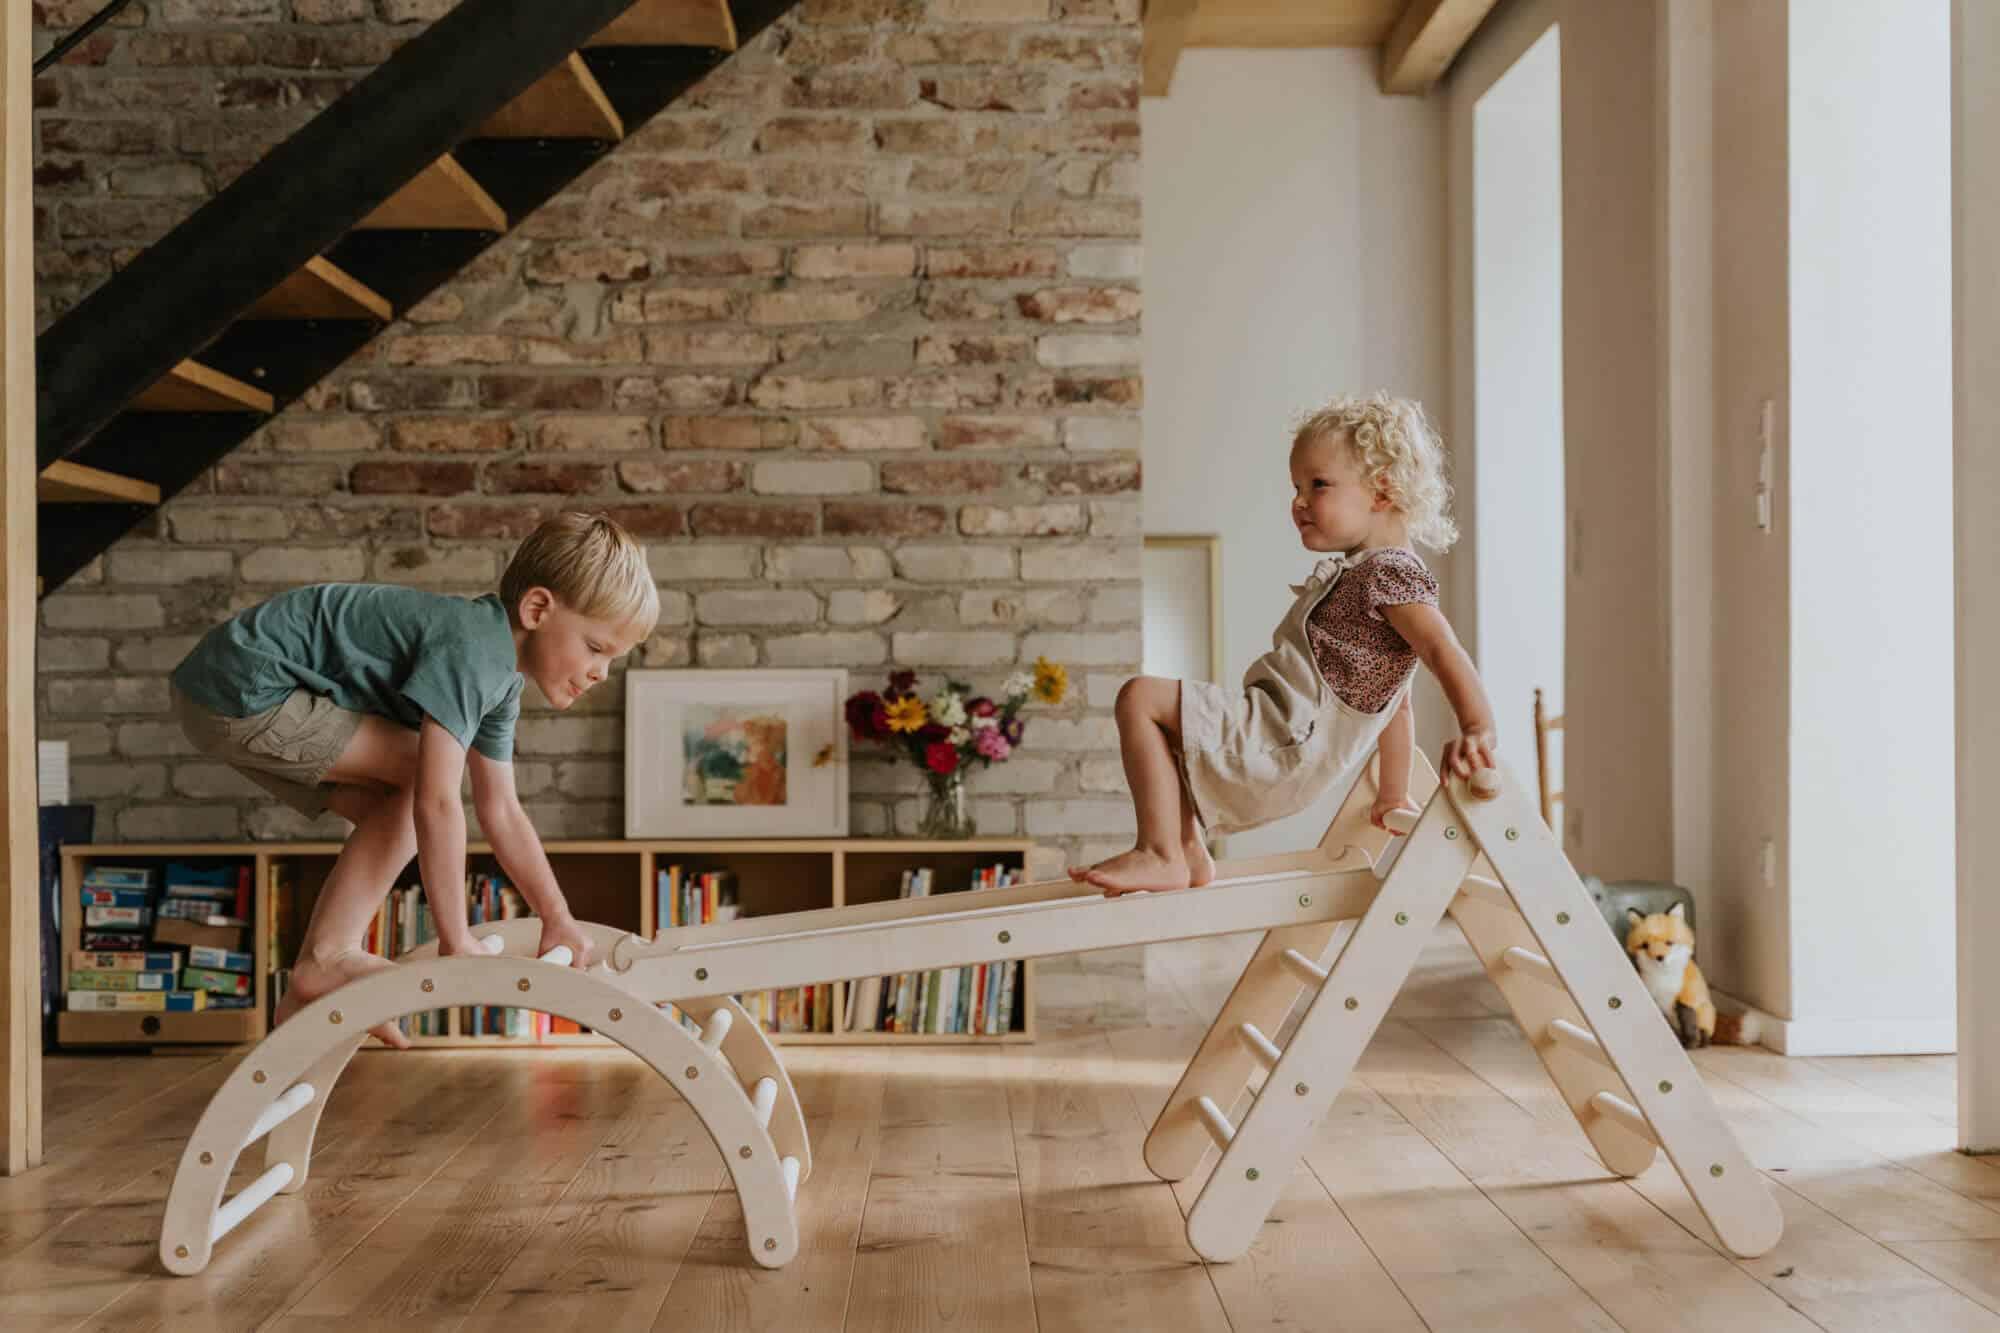
The climbing arch can be expanded at any time—for example, with a slide or a Pikler triangle as an obstacle course. This gives your child new opportunities to test their climbing skills.
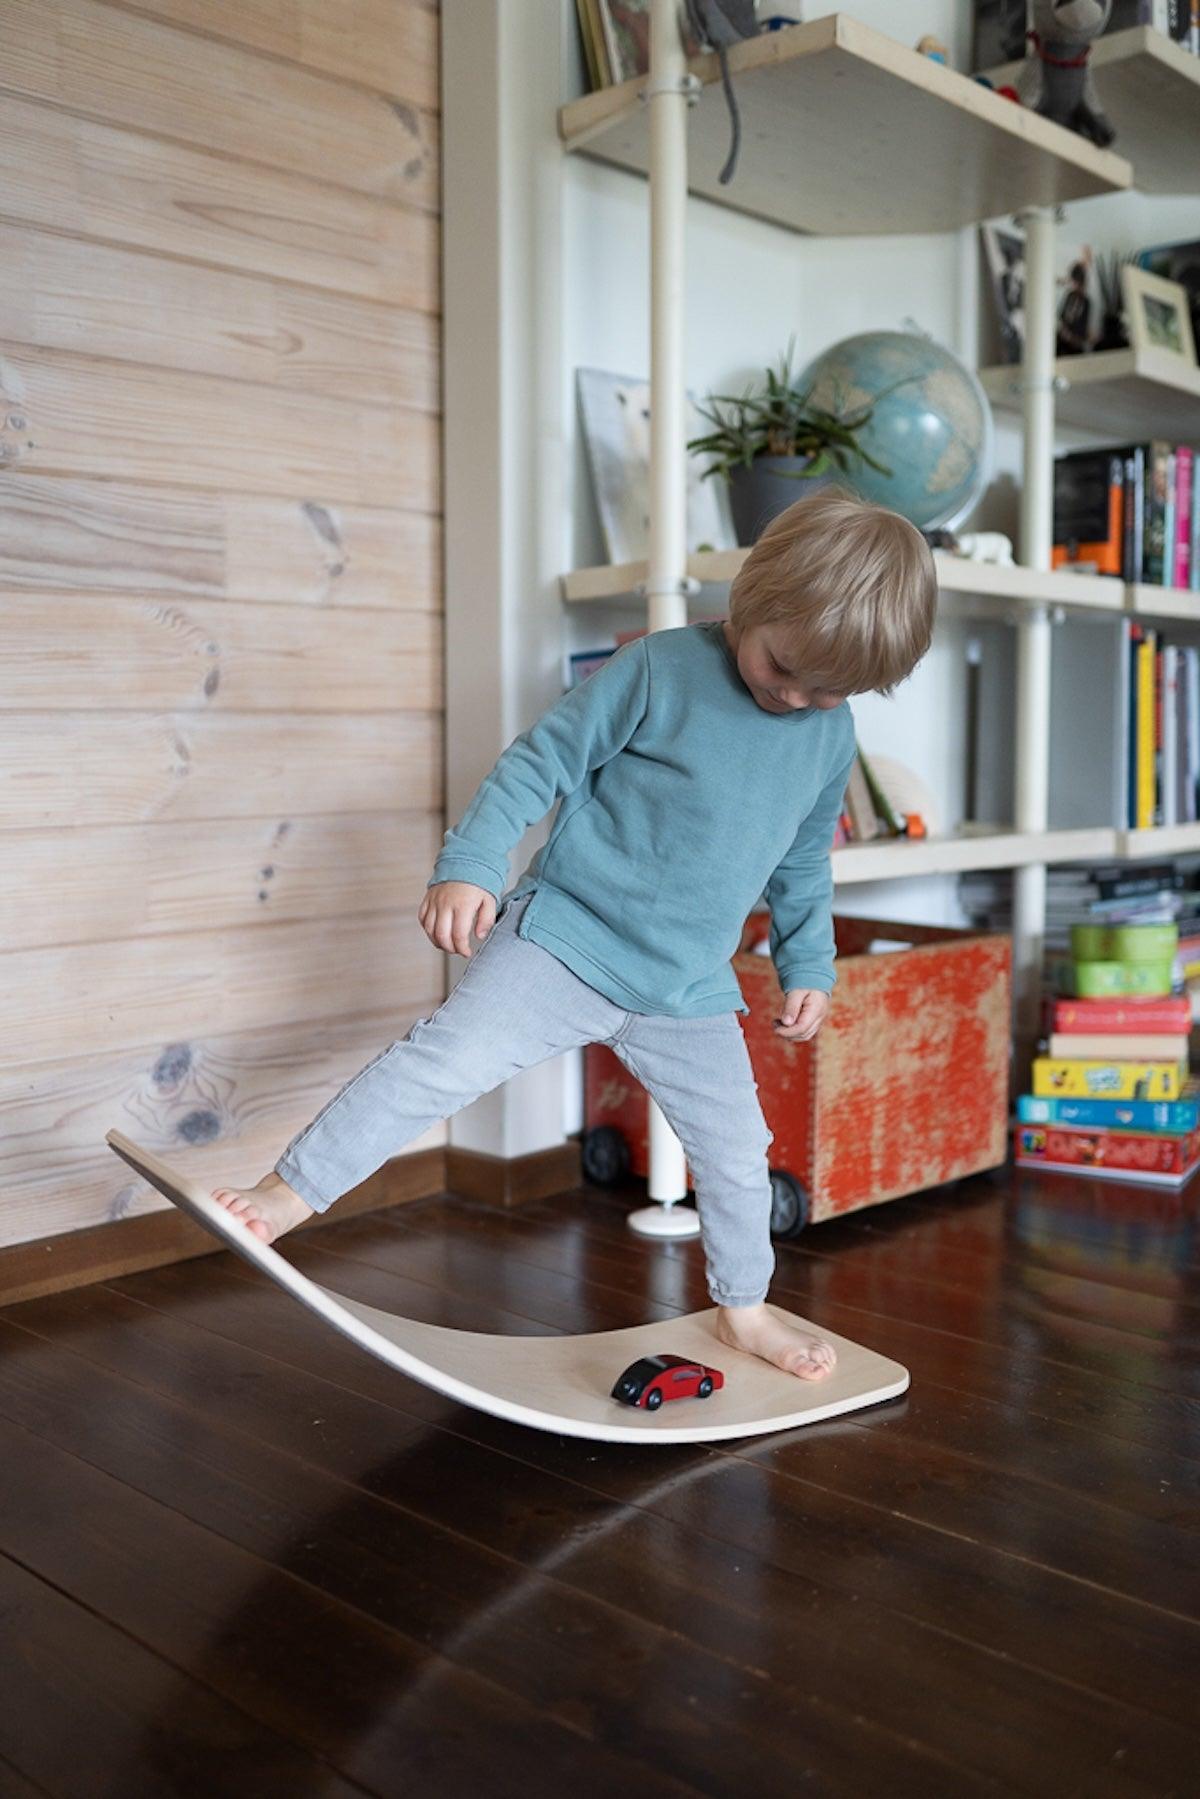
Find inner balance with the rocking seesaw
The sense of balance is crucial for children's development. Once your toddler finds their balance, other motor skills will become easier. Older children can continue to use the rocker for gymnastics exercises, thus supporting their muscle development.

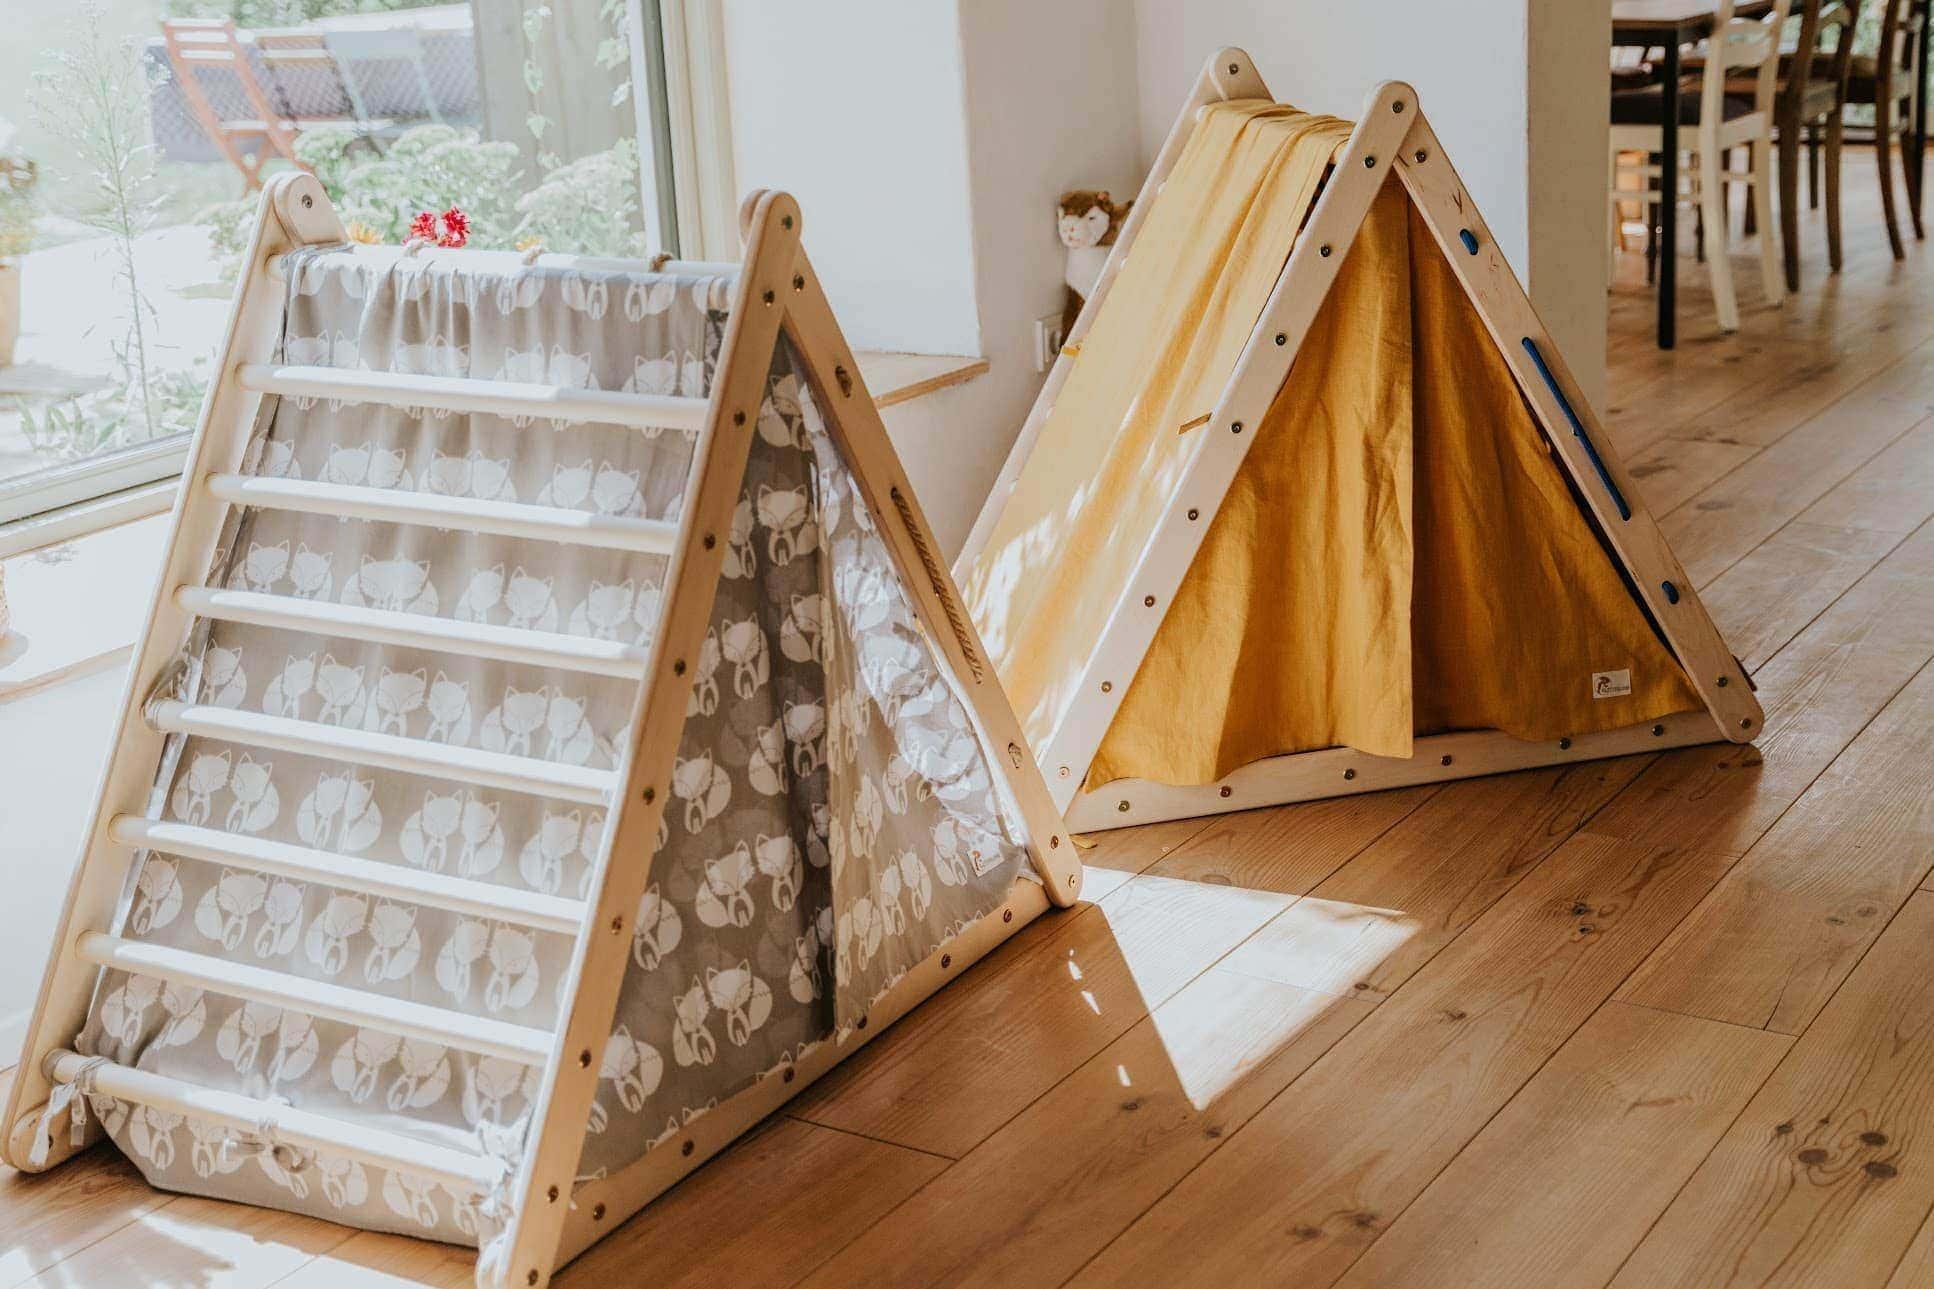
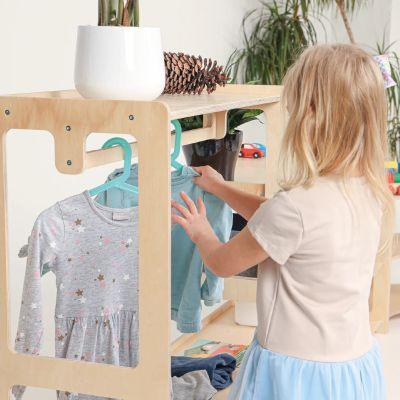
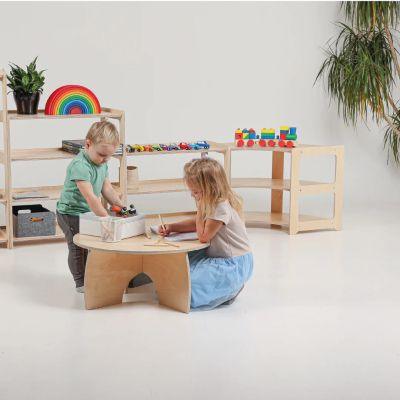
Game ideas
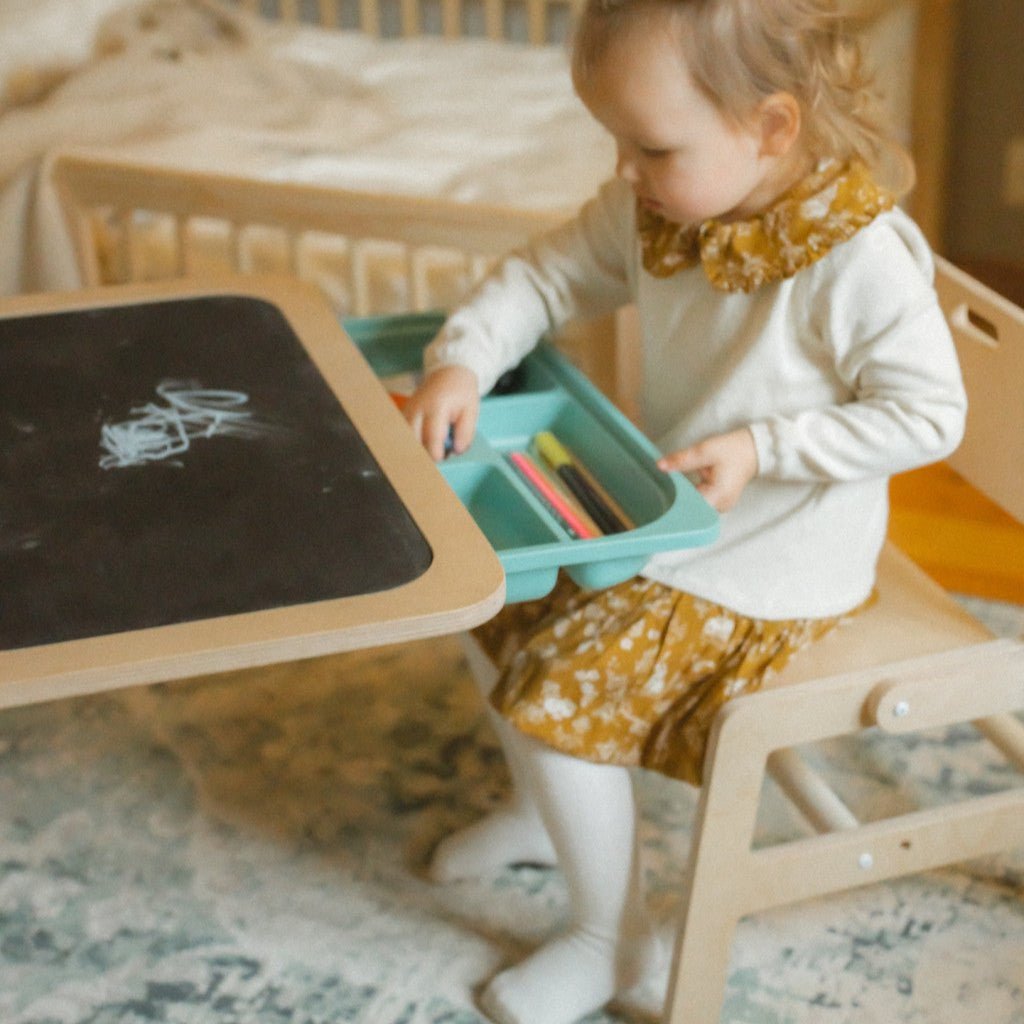
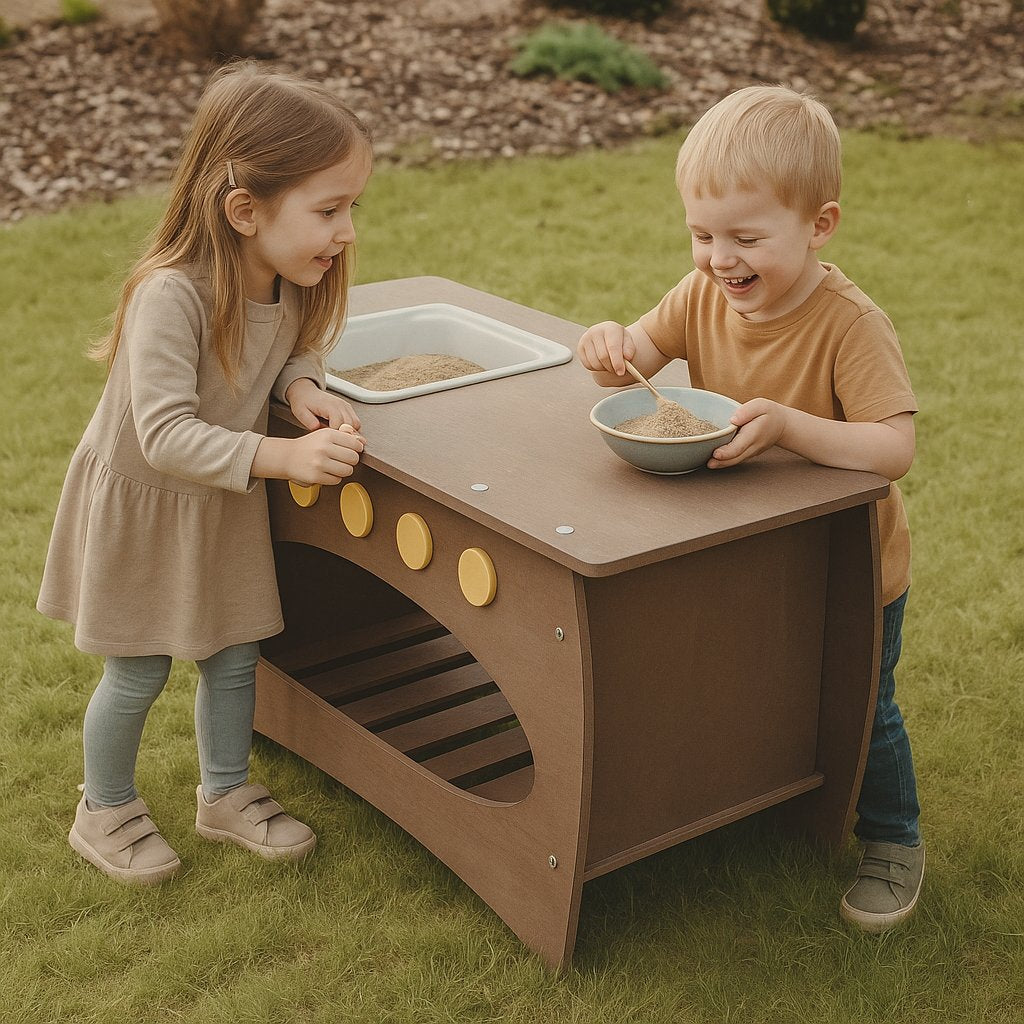
The biggest advantage is the wide range of uses offered by our climbing arches and rocking chairs. Even small babies can be gently rocked in them. Toddlers can not only rock in it, but also pull themselves up, stand up, and climb over it. To do this, simply turn the rocker upside down and you have a small bridge or tunnel for crawling underneath. For older children, the rocker can be turned over and used as a stool, and when laid on its side it even creates a cute counter for little shopkeepers. Your child can rock lying down, sitting, or standing in the rocker. Using their own weight, they can quickly get moving and rock to their heart's content. The rocker can also be used as a cradle for dolls or stuffed animals, and with our matching sloth pillows (LINK) and cuddly blanket (LINK of baby blanket), the rocker creates a cozy retreat.
Sustainable and effective

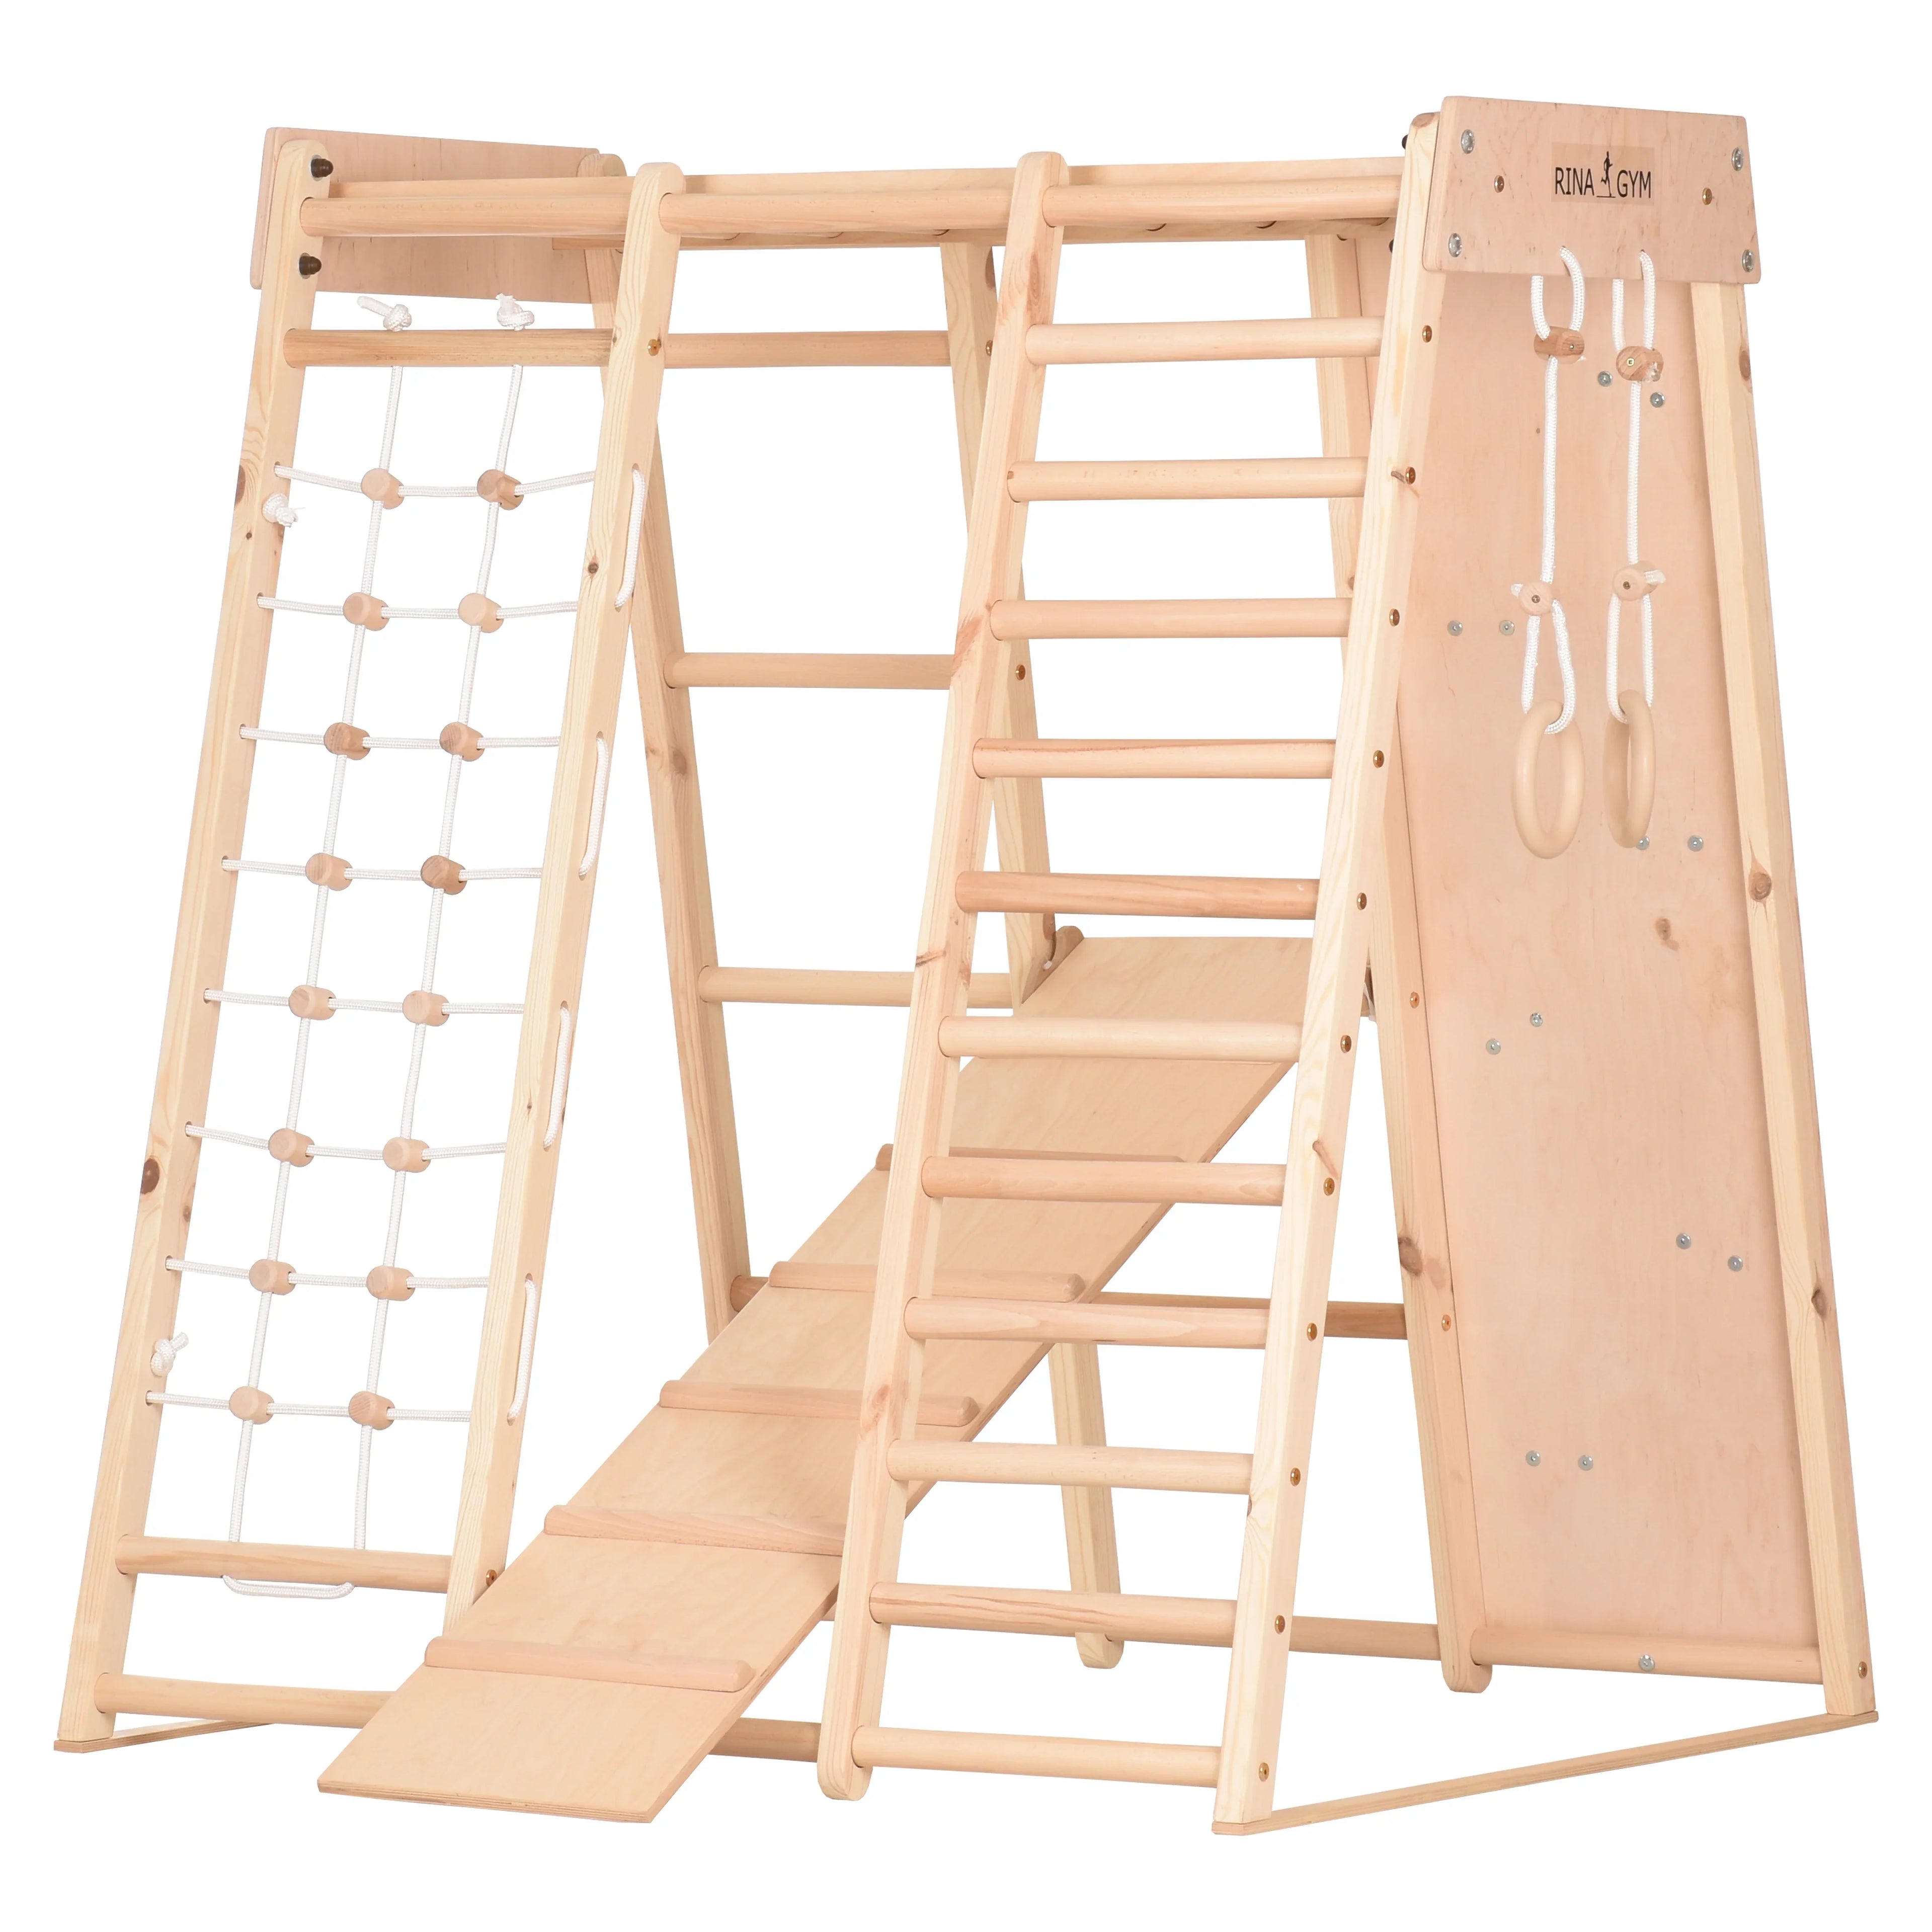
Suitable for ages 10 months and up: For babies and toddlers, there's hardly a toy as educational as the round arch. It can be used for years to improve your child's coordination and motor skills.
Today in our creative workshop:
Crafting with salt dough – Create individual Christmas decorations

Tip: Halve the salt dough by the cup measurement, so you'll have enough for small craft projects. When crafting with salt dough, use baking paper. It's already pre-cut to size. This way, you'll avoid unnecessary stains on your table.
Example: Christmas pendant
At Christmas time, Christmas decorations are everywhere. I'll show you how to easily make these decorations out of salt dough with this free tutorial!
For the Christmas decorations made of salt dough you will need: salt dough, brush, acrylic paint, string
Step 1
First, form an oval plate approximately 0.5 cm thick. Don't forget to cut a hole for hanging. Let it dry for at least 24 hours.
Step 2
Then, paint the ornaments. Finally, tie a string to the shapes for hanging, and your colorful salt dough Christmas ornaments are ready.
Example: Santa Clauses
These funny Christmas elves are a truly adorable pair of helpers. These two elves are eagerly awaited during the Christmas season. So let's get crafting!
For the Christmas elves made of salt dough you will need: salt dough, toothpicks, acrylic paint or watercolor, brush
Step 1
First, form the salt dough into a small cone. This means you first form a thick sausage and then roll it thinner at one end with your fingertips. You can smooth the edges with a little water. Then, form two sausages out of the salt dough. These will be the body parts for the Christmas elves.
Tip: Use a toothpick for fine details, such as the indentations on the ear.
Step 2
In the second step, you assemble the body parts. To do this, cut a matchstick in half and insert it into the upper, narrower cone shape. Attach the ears to the ends of the toothpicks.
Step 3
Now use a toothpick to add more details: eyes and a mouth. Let the salt dough air dry for at least 24 hours.
Step 4
The dried salt dough shapes are painted with paint. Depending on the intensity and preference, you can use watercolor or acrylic paint , for example. Natural paints also look good. The funny salt dough Christmas elf is ready.
Leftover dough? Cover the remaining salt dough with cling film. Then refrigerate. The salt dough will keep for about a week and can be used later.
Have fun designing!
Share